


This product · follows your selection above

3D Silicone Eye Practice Model for PMU

A flat eye outline shows the design; a shaped model adds the position from which you work. This 3D silicone eye model gives you a raised eye and surrounding area for brow and eye-area placement exercises. Choose it when hand support, viewing angle and the relationship of the design to the eye are your next practice tasks.
Shipping options and final costs depend on your delivery destination and the products in your cart. Free-shipping thresholds vary by region. Check destination restrictions and current shipping thresholds, then review the available options at checkout.
Request a return within 30 days of receiving your order. Items must be new, in the original packaging, and include all accessories. For a change of mind, the buyer pays return shipping. Read the return policy.
WhatsApp: 0086 188 0749 9652
Email: ryan@attotattoo.com
YOUR WORKING SETUP
Pair your selected practice surface with fine and grouped-line cartridges, brow and lip colours and pigment rings. Choose the supplies your exercise needs; use your existing machine.
This product · follows your selection above

Two brow models to move the same design onto a curved surface.

One lip model for contour and colour-zone practice.
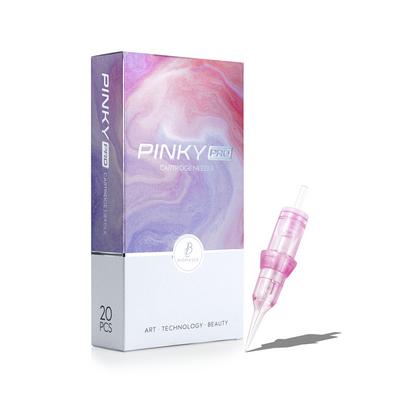
0601RL / 0.20 mm: 20 cartridges for individual fine strokes.

0803RL / 0.25 mm: 20 cartridges for grouped contours.

Ash Brown 10 ml for a lighter brow-colour study.

Pink 10 ml for a pink lip-colour study on the practice model.

100 pigment rings to keep working colours separate.
Use the eye shape as a reference when planning where a brow or eye-area design sits. Repeat a short placement exercise while comparing your support position and view of the working point. The three-dimensional surface makes those positioning choices part of the routine, alongside the direction and spacing of your marks.
Start with the left or right eye according to the side you plan to practise. Blue and Brown iris options are available for each side. Choose the side first, then the model colour, so the surface matches the positioning exercise you have planned.
Begin on a flat A4 sheet when you want to compare line direction and spacing side by side. Move the same short sequence onto this model when the contour and working position become the task. Keeping the exercise familiar lets you focus on what the shaped surface adds.
Start with the flat A4 practice sheetChoose an eye model for side-specific placement and support practice. Select the model option above.
Choose one short exercise and keep your setup consistent. Compare the marks and your hand position before changing the next part of the exercise.