


Start with a flat A4 practice skin for repeated PMU strokes and side-by-side comparisons. Choose a shaped brow, lip or eye model when contour placement, hand support and viewing angle become the task. The most useful progression is to take a familiar exercise from the flat surface onto the shape, so you can concentrate on the new working position.
Give repeated marks enough room to compare
A convincing brow stroke has a beginning, a curve and a fine finish. A flat sheet gives you room to repeat that sequence beside the previous attempt and inspect direction, spacing and the transition between marks. The A4 hairstroke practice skin is our starting recommendation for this work.
Choose one short sequence and draw a reference area for it. Keep attempts separate, then compare the points where the direction changes or the spacing becomes uneven. The same approach works for a small fill or shading transition: make the study compact enough to repeat, but give each attempt room to remain readable.

Choose the model around the positioning skill
Brow model: bring the sequence around a form
The 3D eyebrow practice skin adds the brow shape to an exercise you already know. Choose it when the next task is hand support and stroke placement around that form. Repeat the familiar sequence while observing where you rest your hand and how clearly you see the working point.
Lip model: follow the contour and compare both sides
A 3D lip model brings lip outline, volume and the surrounding area into the study. Choose it for contour planning, symmetry and short sections of colour placement. Light, Medium and Dark background options let you choose the surface against which you want to inspect the marks. Keep that background consistent across repeated attempts.
Eye model: rehearse side-specific placement
The 3D eye model provides an eye shape and surrounding area for eye-relative brow and eye-area positioning. Choose the left or right side you want to rehearse, then Blue or Brown iris. The side guides the working-position exercise; the model gives you a reference for where the design sits.
These forms give different practice tasks a clear place in the routine. Choose the one that matches the position you want to work on, rather than trying to solve every task with the same surface.
For a lip-focused session, use the aquarelle lip working guide to set a colour-and-edge brief before rehearsing it on the shaped model.
Choose one to begin, then a pack for regular practice
Both the A4 sheets and 3D brow skins offer 1, 10 and 30-piece options. Start with one when introducing a new format. Choose ten for a regular sequence of studies, or thirty when repeated sessions call for more surfaces ready at the workstation. Pack quantity follows the routine you have planned.
ATTO selects its practice products to the highest professional quality standard. The practical purchase decision is which format supports the exercise: flat for comparing marks, shaped for adding placement and support. Keep the format consistent through a series of attempts, then add the next surface when the task develops.
For a bundled purchase, the PMU kit contents guide helps you compare the materials already included with this practice plan.
Build a session around one deliberate change
- Choose a short stroke sequence, contour section or small fill.
- Repeat it on the selected surface with a familiar equipment setup.
- Compare direction, spacing and placement before changing one part of your approach.
- Repeat the same section and record what you want to work on next.
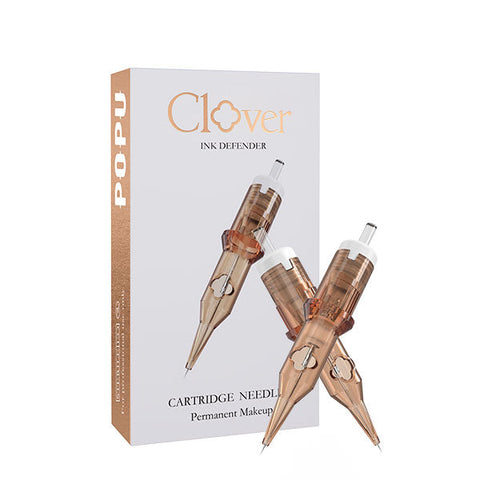
When moving onto a shaped model, keep the drawing familiar and concentrate on support and viewing angle. When comparing cartridge arrangements, keep the surface familiar instead. The PMU cartridge selection guide helps match the working tip to line or shading tasks.
For your next session, choose A4 to compare repeated strokes, a brow form for curved placement, a lip model for contour and symmetry, or an eye model for side-specific support. Each choice gives the practice a clear purpose and a useful next step.
Questions about PMU practice surfaces
Should I buy a flat skin or a shaped model first?
Choose flat for repeated marks you want to compare together. Choose shaped when your immediate task is support, viewing angle or contour placement. You can use both in sequence with the same short exercise.
Which model suits brow-stroke practice?
Start on the flat A4 hairstroke skin for line direction and spacing. Move the familiar sequence to a 3D brow skin when working around the form becomes the focus.
Which quantity should I start with?
Choose one for a new format, ten for regular repeated studies or thirty for a more extensive practice schedule.